Anyone who loves a good latte or cappuccino knows that perfectly steamed milk is key. It should be creamy, frothy, and at just the right temperature.
But achieving this balance can sometimes feel like science.
Luckily, if you own a Breville Barista Pro, you have a powerful tool at your fingertips to help you master the art of milk steaming.
This guide will walk you through the process step by step, so you can enjoy barista-quality beverages at home.
Understanding Your Breville Barista Pro’s Steam Wand
The Breville Barista Pro comes equipped with a commercial-grade steam wand that gives you control over the temperature and texture of your milk.
Understanding how it functions is the first step toward perfecting your milk-steaming technique.
Step-By-Step Guide: How To Steam Milk Breville Barista Pro?
Step 1: Choose The Right Milk
Different types of milk produce different results when steamed. Whole milk is often preferred for its rich taste and creamy texture, but skimmed milk can produce more froth.
Non-dairy alternatives also work, though results can vary. Experiment to find your preference.
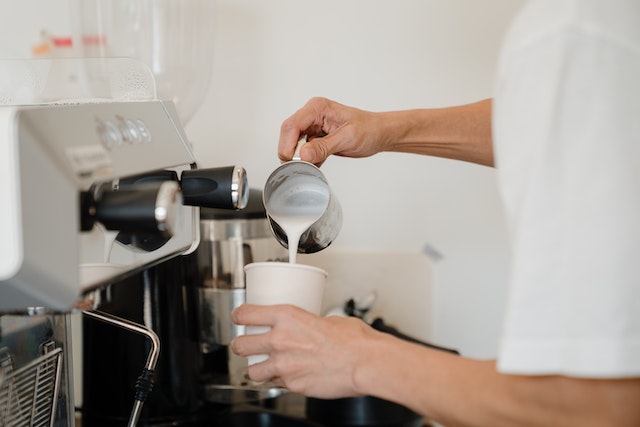
Step 2: Fill The Milk Jug
Fill your stainless steel milk jug up to the bottom of the spout with cold milk. This leaves enough space for the milk to expand as it heats and froths.
Step 3: Position The Steam Wand
Submerge the steam wand just below the surface of the milk, near the side of the jug. This position helps circulate the milk and create froth.
Step 4: Begin Steaming
Turn on the steam wand. As the milk begins to heat, lower the jug gradually so the tip of the wand remains near the surface, creating a whirlpool effect.
Step 5: Monitor The Temperature
Use a thermometer to monitor the milk’s temperature. For most drinks, aim for a final temperature between 150°F and 155°F. Be careful not to overheat the milk as it can scorch, resulting in a burnt taste.
Step 6: Clean The Steam Wand
After each use, clean the steam wand with a damp cloth to remove any milk residue. Also, purge the wand by releasing some steam to clear any milk trapped inside.
Tips For Perfectly Steamed Milk
Practice: Like any skill, practice makes perfect. Experiment with different milk types, temperatures, and froth levels until you find what works best for you.
Texture: Aim for microfoam – small, uniform bubbles that give the milk a glossy, velvety texture.
Timing: Start frothing as soon as possible after the milk has been taken from the refrigerator. Cold milk froths better than warm.
Frequently Asked Questions
Can I use non-dairy milk in my Breville Barista Pro?
Yes, you can use non-dairy milk in your Breville Barista Pro. However, the texture and taste may vary compared to dairy milk. Experiment with different brands and types to find your favorite.
What is the ideal temperature for steamed milk?
The ideal temperature for steamed milk is typically between 150°F and 155°F. Going above this range can result in scorched milk and a burnt flavor.
Why isn’t my milk frothing properly?
If your milk isn’t frothing properly, it could be due to several factors, including the type of milk, its temperature, or the position of the steam wand. Try adjusting these variables for better results.
Conclusion
Steaming milk like a pro with your Breville Barista Pro is a skill that requires understanding, patience, and practice.
But once you’ve mastered it, you can enjoy the rich, creamy lattes and cappuccinos you love without leaving your kitchen.
So take out your milk jug, fire up the steam wand, and start practicing. With these tips and tricks, you’ll be frothing milk like a seasoned barista in no time.